- Board: Arduino Mega or Mega 2560
- Processor: ATmega1280
- Port: COM3 (this property can be determined in the device manager)
I guess this is probably a lot of people's first project with an Arduino. It was very simple, although I did have to look up a tutorial to see how to do it using a breadboard, which can be found here. Here's the code using the Arduino software.
int ledPin = 53;

void setup() {
  // put your setup code here, to run once:
  pinMode(ledPin, OUTPUT);
}

void loop() {
  // put your main code here, to run repeatedly:
  digitalWrite(ledPin, HIGH);
  delay(3000);
  digitalWrite(ledPin, LOW);
  delay(3000);
}
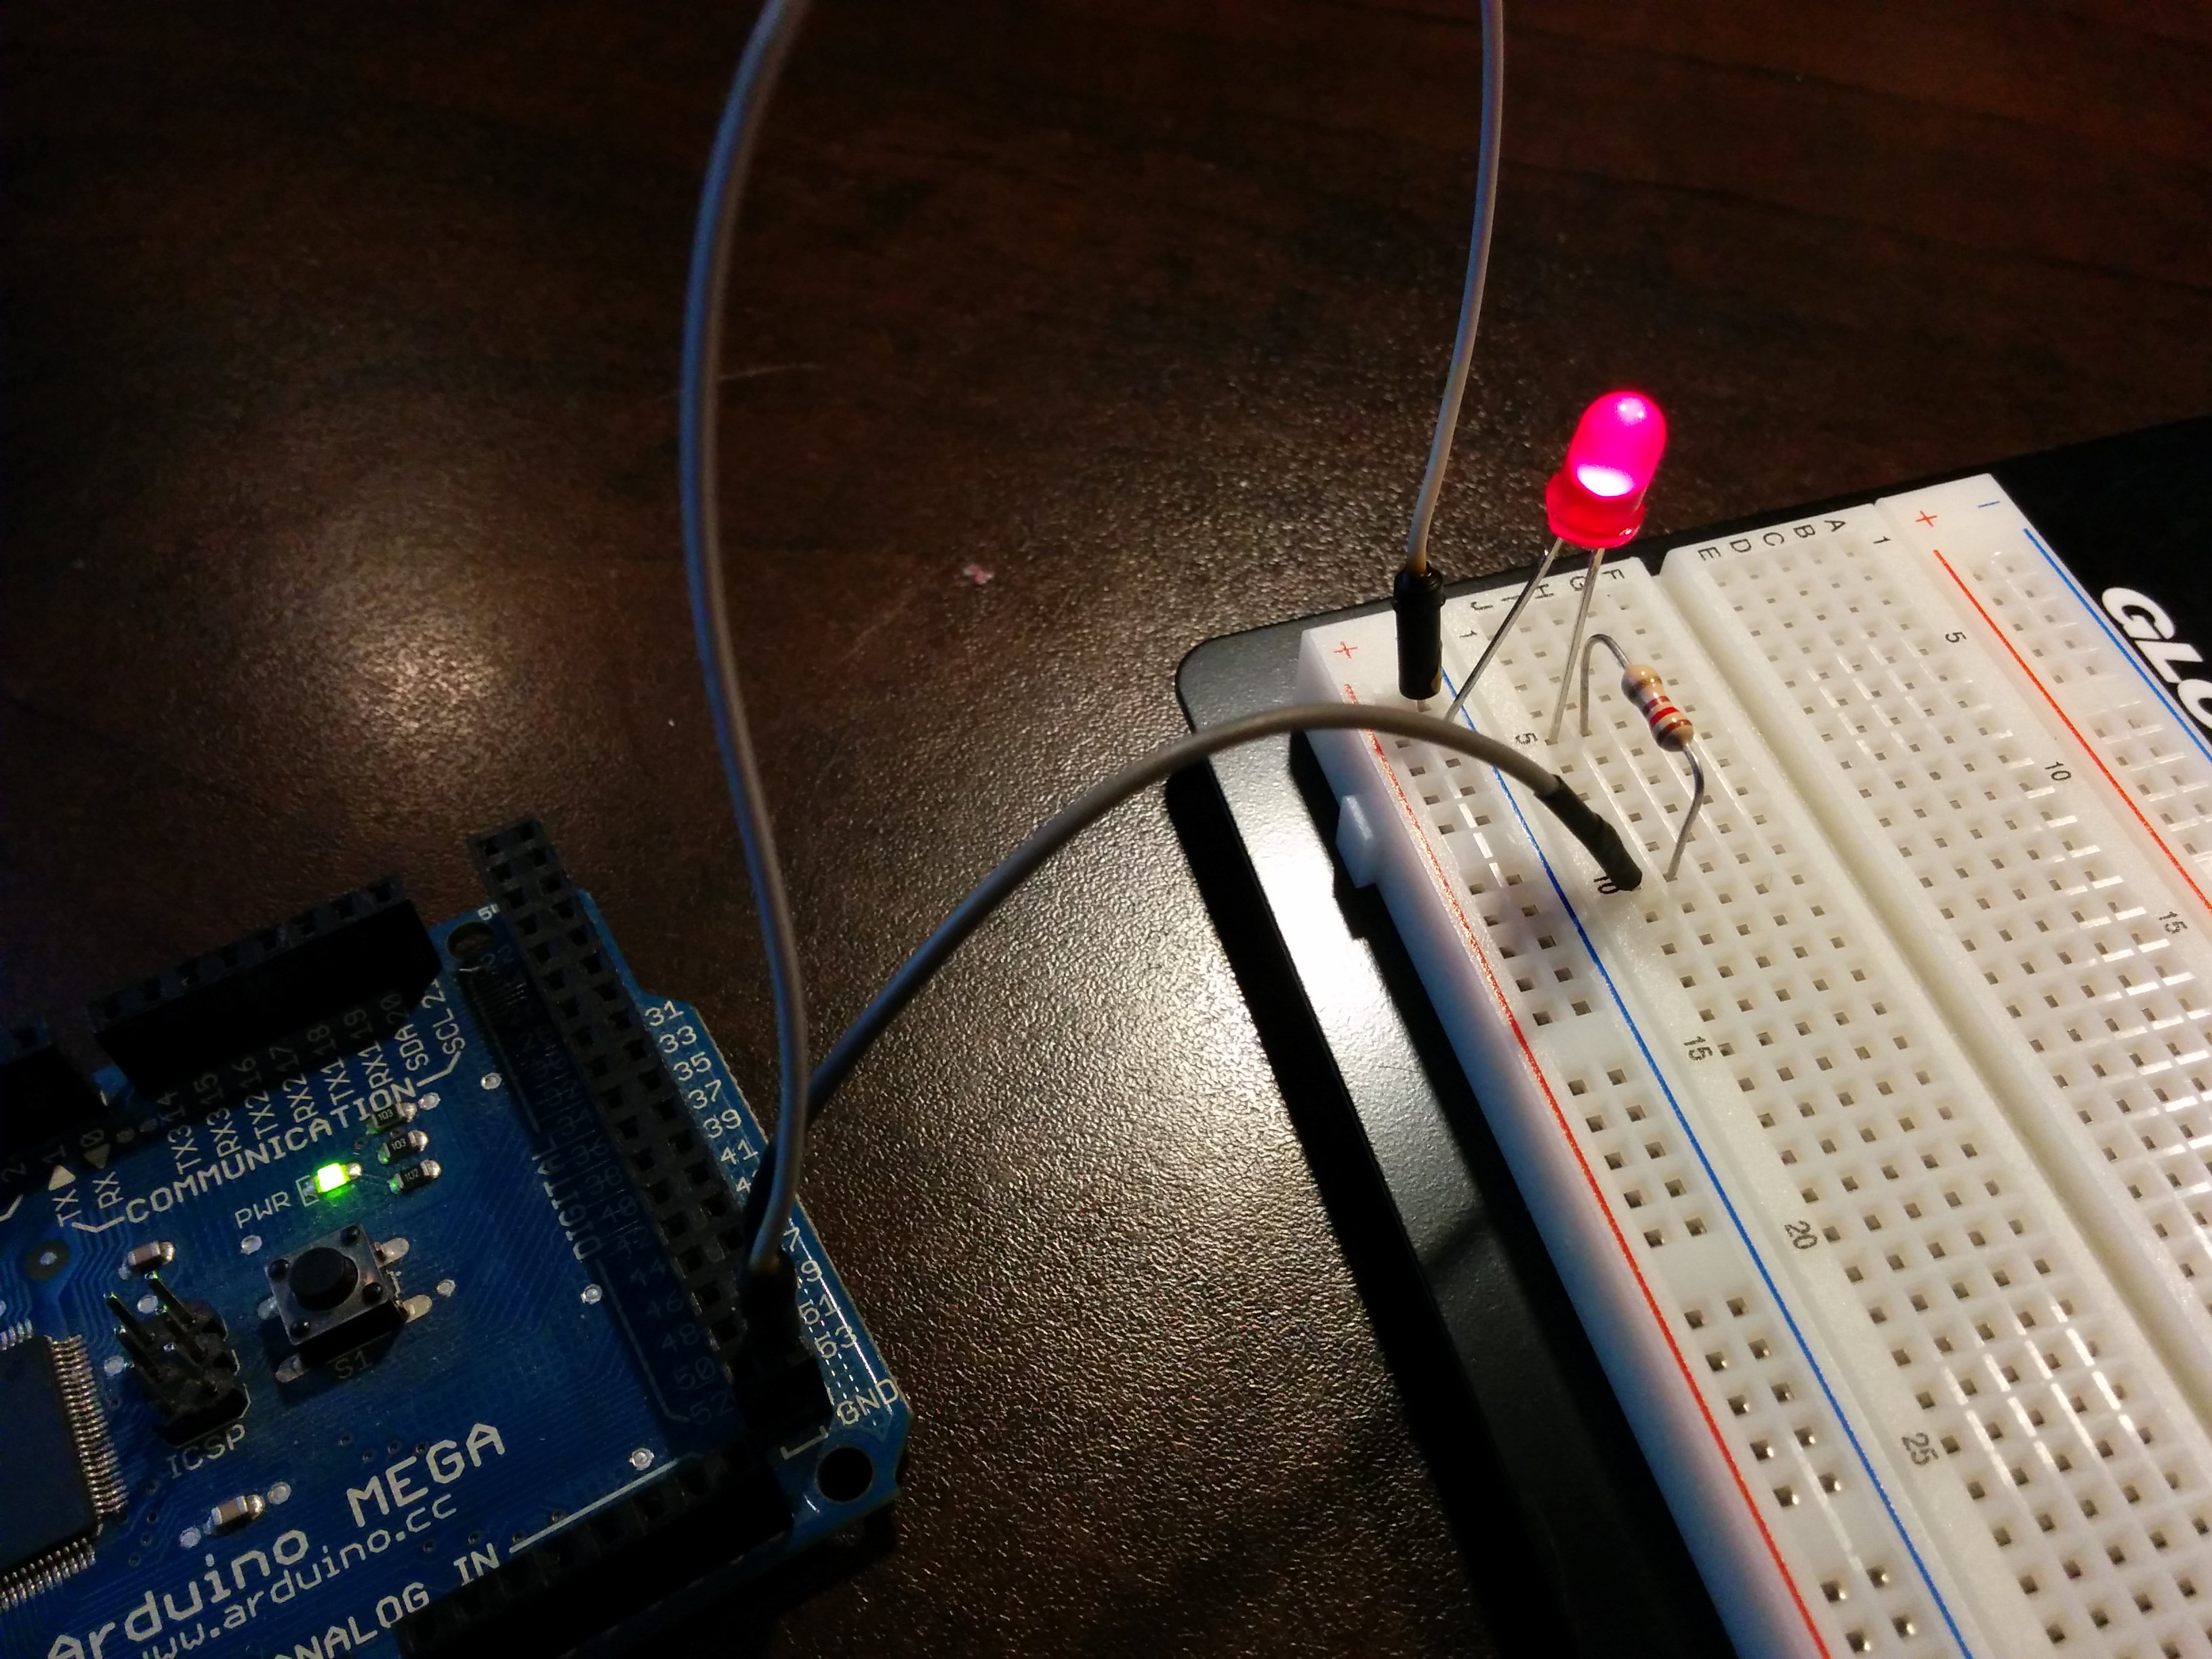
As for the actual wiring, I had a ground coming from the Arduino's digital ground to the breadboard ground, and then another wire coming from pin 53 to row 10 on my breadboard... from there it went through a 290 ohm resistor which stretched to row 5 next to the short end of an LED. The long end of the LED ended back into the ground of the breadboard and subsequently into the Arduino itself. A pretty simple circuit.
Click here to download both the arduino source code and the C# code (Visual Studio Express 2010)
The next thing I wanted to do was be able to turn the LED light on and off by clicking a button. To do this, I found a tutorial here (may want to translate that page) that helped me bridge the gap between the Arduino and C#. From there I altered the C# code slightly and boom! There it was! I also bought more LED lights and ran 3 of them in parallel... just to prove to myself I knew what I was doing (at least a little... lol).
All this setup is doing is using a C# program that uses serialPort.Write to send a value of either "1" (on) or "0" (off). The arduino program (which obviously needs to be uploaded to the Arduino itself) uses a function called Serial.read() to assign a value to a char variable, then the program goes through a switch/case and executes commands depending on if the value is 1 or 0. Pretty freakin' simple.
